
MaxiCode
The MaxiCode is used primarily by UPS to route and track packages:

[)>~03001~02996890520000~029840~029003~0291Z12898809~029UPSN~029868124~029246~029~0291/1~029000~029N~029~029HENDERSON~029NV~030~004
MaxiCode barcodes are fixed-size codes which hold up to 93 data characters. MaxiCodes encode two messages. The main message typically encodes the postal code, country code and the service code. The secondary message typically encodes a shipping address, though it can also encode other information. The symbology may be used in different modes:
MaxiCode Encoding Modes
0 Obsolete.
1 Obsolete.
2 Primary message encodes the numeric postal code (US Carrier) up to nine digits in length, country code and service code while the secondary message encodes additional data. Up to 93 characters may be encoded.
3 Primary message encodes the alphanumeric postal code (International Carrier) up to six digits in length, country code and service code while the secondary message encodes additional data. Up to 93 characters may be encoded.
4 Standard Symbol. General information is encoded. Any data up to 90 data characters is automatically split between primary and secondary messages.
5 Secure Symbol. General information is encoded. Any data up to 74 data characters is automatically split between primary and secondary messages. Enhanced error correction is employed.
6 Reader Program. Used for programming hardware devices, such as barcode readers.
The following is an example of encoding data in MaxiCode barcodes in eFORMz, using Mode 2. The data encoded begins with [)>RS01GS as required by UPS. Next, the 2-digit format of the year (YY) is added. This is followed by the zip code, which is a numeric-only 5-digit zip code with a 4-digit zip code extension. If no extension exists, four zeros (0000) must be specified. Next, the 3-digit country code is added. For mode 2, which is used for US carriers, the country code is 840. For other country codes, mode 3 should be used instead. After this, the 3-digit class of service code is added. The secondary message follows, and it has more flexibility.
The following basic format should look as follows: [)>RS01GSYearPostalCodeGSCountryGSServiceGSmessage
Our detailed example, with a sample secondary message, will look as follows:
“[)>”+RS+ “01”+GS+ “96890520000”+GS+ “840”+GS+ “003”+GS+ “1Z12898809”+GS+”UPSN”+GS+”868124”+GS+”246”+GS+GS+”1/1”+GS+GS+”N”+GS+GS+”HENDERSON”+GS+”NV”+RS+EOT
There are three character delimiters used, each with an American Standard Code for Information Interchange (ASCII) value. The RS character delimiter has a value of ~030, the GS character delimiter has a value of ~029 and the EOT character delimeter has a value of ~004. The data is encoded with this string:
[)>~03001~02996890520000~029840~029003~0291Z12898809~029UPSN~029868124~029246~029~0291/1~029~029N~029~029HENDERSON~029NV~030~004
Options
Encoding Mode
The encoding mode options are noted in the MaxiCode Encoding Modes table on page 24. The default mode is the First character of data option, which compresses (encodes) the data based upon the the first character of the selected string being a single digit. This first character will not be a part of the barcode.
Resolution
The density of the barcode. 96 dpi (dots-per-inch) is low resolution, while 600 dpi is high resolution. The default is 300 dpi.
NOTE: A two-dimensional imaging device such as a CCD camera is necessary to scan the symbology.
Tutorial
The following is the process of encoding data in MaxiCode barcodes in eFORMz, using Mode 2. To follow along, download the sample files here: MaxiCode
1. From the eFORMz Project Window, right click the form and select Add Variable > By position.
2. The Variable dialog box will display. Enter ‘Mode’ in the Name field.
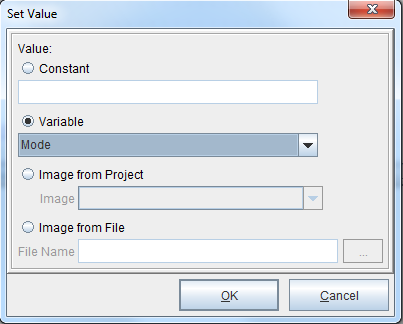
3. Right click the variable and select Add Function > Set Value.
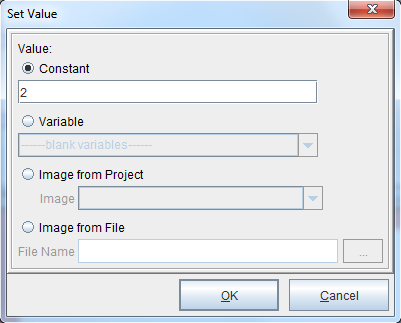
4. The Set Value dialog box will display. Enter a value of 2 in the Constant field.
5. From the eFORMz Project Window, right click the form and select Add Variable > By position. The Variable dialog box will display. Enter ‘RS’ in the Name field.
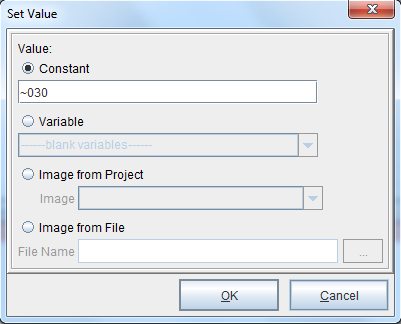
6. Right click the variable and select Add Function > Set Value. The Set Value dialog box will display. Enter a value of ~030 in the Constant field.
7. From the eFORMz Project Window, right click the form and select Add Variable > By position. The Variable dialog box will display. Enter ‘GS’ in the Name field.
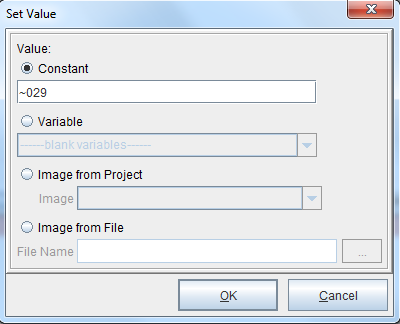
8. Right click the variable and select Add Function > Set Value. The Set Value dialog box will display. Enter a value of ~029 in the Constant field.
9. From the eFORMz Project Window, right click the form and select Add Variable > By position. The Variable dialog box will display. Enter ‘EOT’ in the Name field.
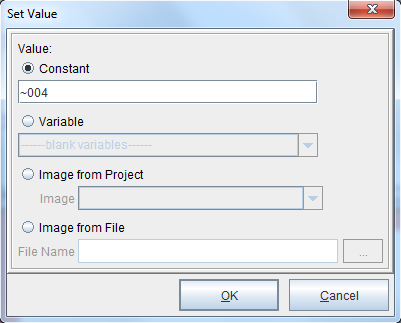
10. Right click the variable and select Add Function > Set Value. The Set Value dialog box will display. Enter a value of ~004 in the Constant field.
11. From the eFORMz Project Window, right click the form and select Add Variable > By position. The Variable dialog box will display. Enter ‘ZipCode’ in the Name field.
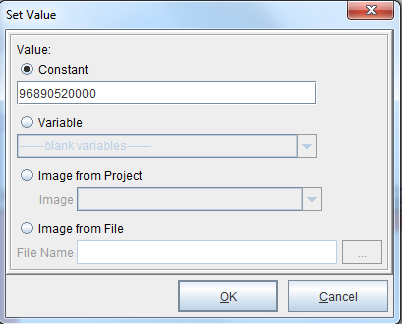
12. Right click the variable and select Add Function > Set Value. The Set Value dialog box will display. Enter the value for the zip code. The first two digits should be the year, followed by the nine digit zip code. For this example, a value of 96890520000 is entered in the Constant field. 96 represents the year, 89052-0000 is the zip code.
13. From the eFORMz Project Window, right click the form and select Add Variable > By position. The Variable dialog box will display. Enter ‘CountryCode’ in the Name field.
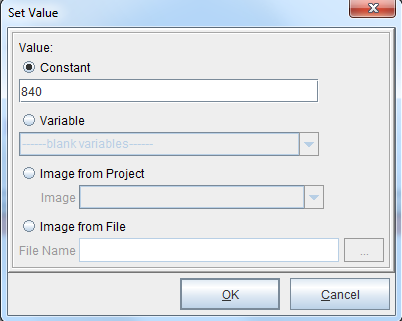
14. Right click the variable and select Add Function > Set Value. The Set Value dialog box will display. Enter the value of the country code. For MaxiCode mode 2, this is typically the United States country code of 840. So, a value of 840 is entered in the Constant field.
15. From the eFORMz Project Window, right click the form and select Add Variable > By position. The Variable dialog box will display. Enter ‘ServiceCode’ in the Name field.
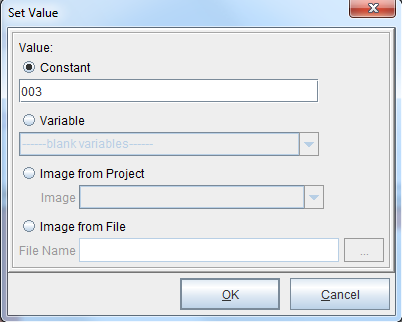
16. Right click the variable and select Add Function > Set Value. The Set Value dialog box will display. Enter the value of the service code. For this example, a value of 003 is entered in the Constant field.
17. After defining the delimiter characters and primary codes, the secondary message that will be encoded can be defined. From the eFORMz Project Window, right click the form and select Add Variable > By position. The Variable dialog box will display. Enter ‘Message’ in the Name field.
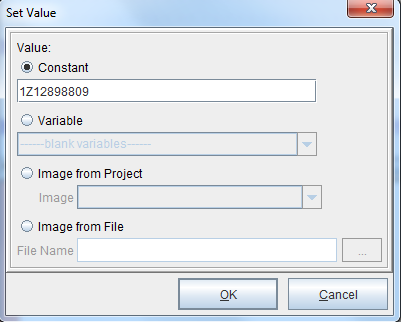
18. Right click the variable and select Add Function > Set Value. The Set Value dialog box will display. Enter the UPS tracking number. For this example, a value of 1Z12898809 is entered in the Constant field.
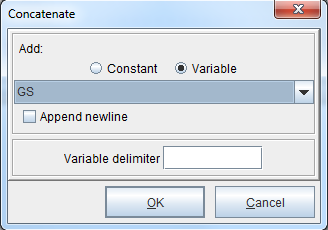
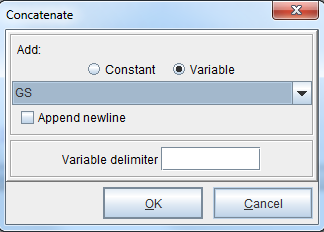
19. Right click the ‘Message’ variable and select Add Function > Concatenate. The Concatenate dialog box will display. Select the ‘GS’ variable created earlier from the drop-down menu.
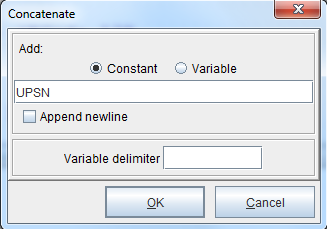
20. Right click the ‘Message’ variable and select Add Function > Concatenate. The Concatenate dialog box will display. Enter a value of ‘UPSN’. This is the Standard Carrier Alpha Code for UPS.
21. Right click the ‘Message’ variable and select Add Function > Concatenate. Select the ‘GS’ variable created earlier from the drop-down menu.
22. Right click the ‘Message’ variable and select Add Function > Concatenate. Enter the UPS shipper number. A value of ‘868124’ was entered for this example.

23. Right click the ‘Message’ variable and select Add Function > Concatenate. Select the ‘GS’ variable created earlier from the drop-down menu.
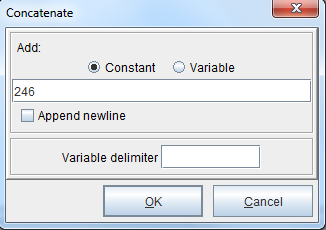
24. Right click the ‘Message’ variable and select Add Function > Concatenate. Enter the Julian day of pickup. In this example, a value of ‘246’ was entered.
25. Right click the ‘Message’ variable and select Add Function > Concatenate. Select the ‘GS’ variable created earlier from the drop-down menu.
26. Right click the ‘Message’ variable and select Add Function > Concatenate. Enter the 7-digit shipment ID number. In this example, a shipment ID number is not used. (If necessary) Right click the ‘Message’ variable and select Add Function > Concatenate. Select the ‘GS’ variable created earlier from the drop-down menu. If not needed because a shipment ID wasn’t added, proceed to the next step.
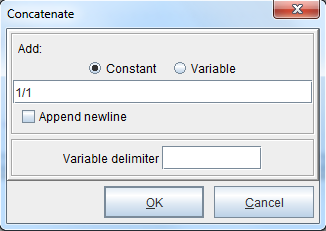
27. Right click the ‘Message’ variable and select Add Function > Concatenate. Specify the number of packages (package x of y format). A value of ‘1/1’ is used in this example.
28. Right click the ‘Message’ variable and select Add Function > Concatenate. Select the ‘GS’ variable created earlier from the drop-down menu.
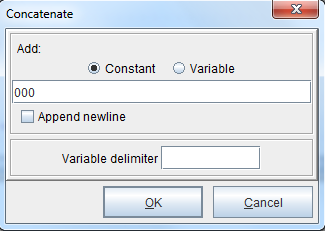
29. Right click the ‘Message’ variable and select Add Function > Concatenate. Enter the package weight. A value of ‘000’ is used in this example.
30. Right click the ‘Message’ variable and select Add Function > Concatenate. Select the ‘GS’ variable created earlier from the drop-down menu.
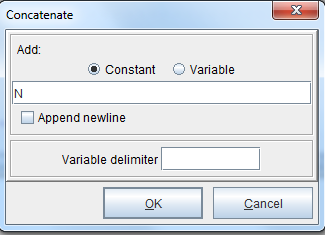
31. Right click the ‘Message’ variable and select Add Function > Concatenate. Enter a ‘Y’ or ‘N’ value for address validation. For our example, our address doesn’t need to be validated, so a value of ‘N’ is entered.
32. Right click the ‘Message’ variable and select Add Function > Concatenate. Select the ‘GS’ variable created earlier from the drop-down menu.
33. (If necessary) Right click the ‘Message’ variable and select Add Function > Concatenate. Enter the ship-to street address. In this example, a street address is not used. Right click the ‘Message’ variable and select Add Function > Concatenate. Select the ‘GS’ variable created earlier from the drop-down menu. If not needed because a ship-to street address wasn’t added, proceed to the next step.
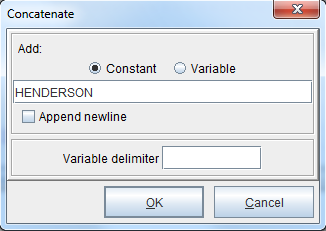
34. Right click the ‘Message’ variable and select Add Function > Concatenate. Enter the ship-to city. In this example, a value of ‘HENDERSON’ is used.
35. Right click the ‘Message’ variable and select Add Function > Concatenate. Select the ‘GS’ variable created earlier from the drop-down menu.
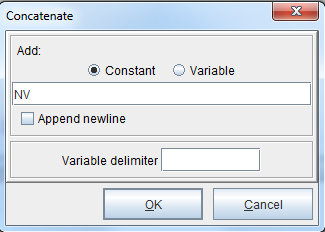
36. Right click the ‘Message’ variable and select Add Function > Concatenate. Enter the ship-to city value. In this example, a value of ‘NV’ is used.
37. With the secondary message complete, the primary carrier message and the secondary message can be encoded. From the eFORMz Project Window, right click the form and select Add Variable > By position. The Variable dialog box will display. Enter ‘EncodedData’ in the Name field.
38. Right click the variable and select Add Function > Set Value. The Set Value dialog box will display. Select the ‘Mode’ variable created earlier from the drop-down menu.
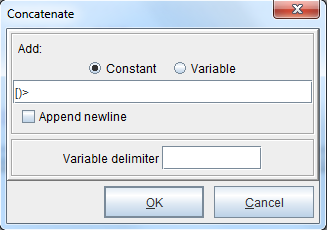
39. The required opening data string of encoded data for a mode 2 message is ‘[)>RS01GS’. Right click the ‘EncodedData’ variable and select Add Function > Concatenate. Enter a value of ‘[)>’. This value is required by UPS and represents the beginning of the message header.
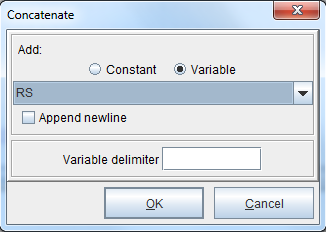
40. Right click the ‘EncodedData’ variable and select Add Function > Concatenate. Select the ‘RS’ variable created earlier from the drop-down menu. The RS character delimiter is required by UPS and completes the message header portion of the required data string.
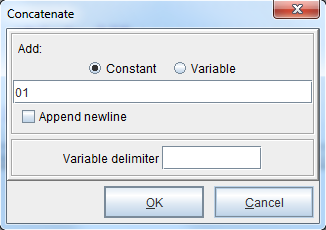
41. Right click the ‘EncodedData’ variable and select Add Function > Concatenate. Enter a value of ‘01’. This value is required by UPS and represents the beginning of the format header of the required data string.
42. Right click the ‘EncodedData’ variable and select Add Function > Concatenate. Select the ‘GS’ variable created earlier from the drop-down menu. The GS character delimiter is required by UPS and completes the format header of the opening data string of the encoded data.
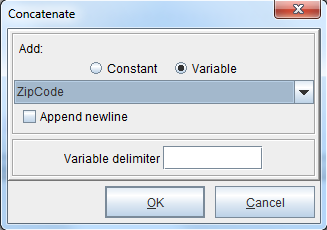
43. Right click the ‘EncodedData’ variable and select Add Function > Concatenate. Select the ‘ZipCode’ variable created earlier from the drop-down menu.
44. Right click the ‘EncodedData’ variable and select Add Function > Concatenate. Select the ‘GS’ variable created earlier from the drop-down menu.
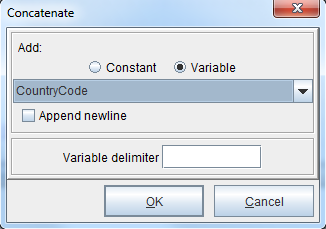
45. Right click the ‘EncodedData’ variable and select Add Function > Concatenate. The Concatenate dialog box will display. Select the ‘CountryCode’ variable created earlier from the drop-down menu.
46. Right click the ‘EncodedData’ variable and select Add Function > Concatenate. Select the ‘GS’ variable created earlier from the drop-down menu.
47. Right click the ‘EncodedData’ variable and select Add Function > Concatenate. Select the ‘ServiceCode’ variable created earlier from the drop-down menu.

48. Right click the ‘EncodedData’ variable and select Add Function > Concatenate. Select the ‘GS’ variable created earlier from the drop-down menu.
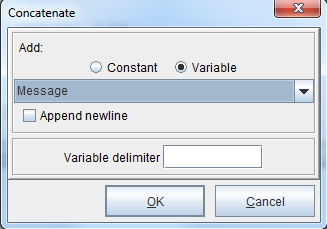
49. Right click the ‘EncodedData’ variable and select Add Function > Concatenate. The Concatenate dialog box will display. Select the ‘Message’ variable created earlier from the drop-down menu.
50. Right click the ‘EncodedData’ variable and select Add Function > Concatenate. Select the ‘GS’ variable created earlier from the drop-down menu.
51. Right click the ‘EncodedData’ variable and select Add Function > Concatenate. The Concatenate dialog box will display. Select the ‘EOT’ variable created earlier from the drop-down menu. This character concludes the encoded data message.

The barcode can now be placed onto the form via Add Rule > 2D Barcode or in the Document Template via Add barcode > 2D barcode.