Integrating eFORMz with Salesforce
There are two ways of integrating eFORMz with Salesforce: Creating a connected app and Creating a custom button
eFORMz API
To integrate eFORMz with Salesforce, you will use the eFORMz API. To configure the API, consult the following resource: https://minisoft.com/support/index.php/eformz-api-management-developer-resources/
Create a Connected App [Recommended]
eFORMz needs the following information for OAUTH2 authentication for a temporary security token:
• Username
• Password
• Client ID
• Client Secret
Using the temporary token, eFORMz retrieves order data from a different URL.
Creating a Button in Salesforce
NOTE: If you add eFORMz as a connected app, creating a button isn’t necessary.
For Salesforce Classic, consult the following tutorial on how to create a button inside of Salesforce: http://salesforce.vidyard.com/watch/ddtSO_rtC8Ew8-yIWz3ZLw
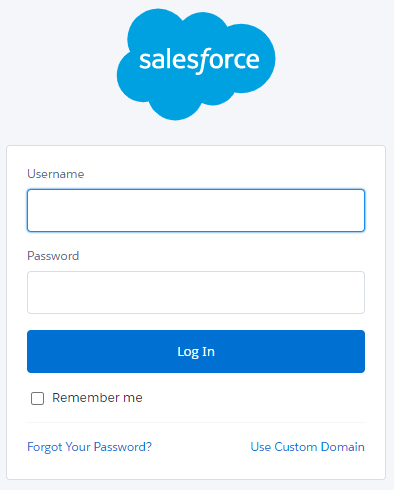
1. Log in to your Salesforce account.
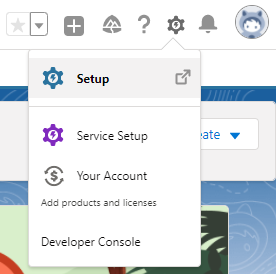
From any page in Lightning, click the gear icon in the upper right corner and select Setup.
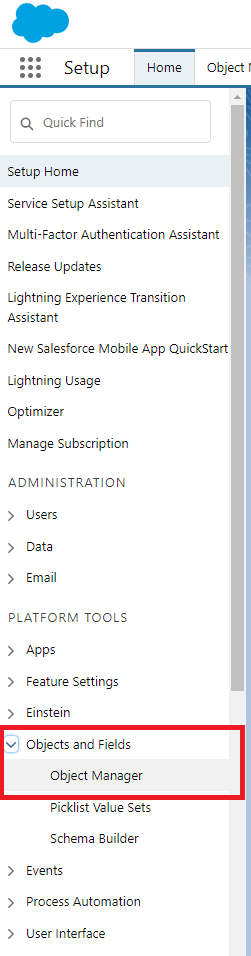
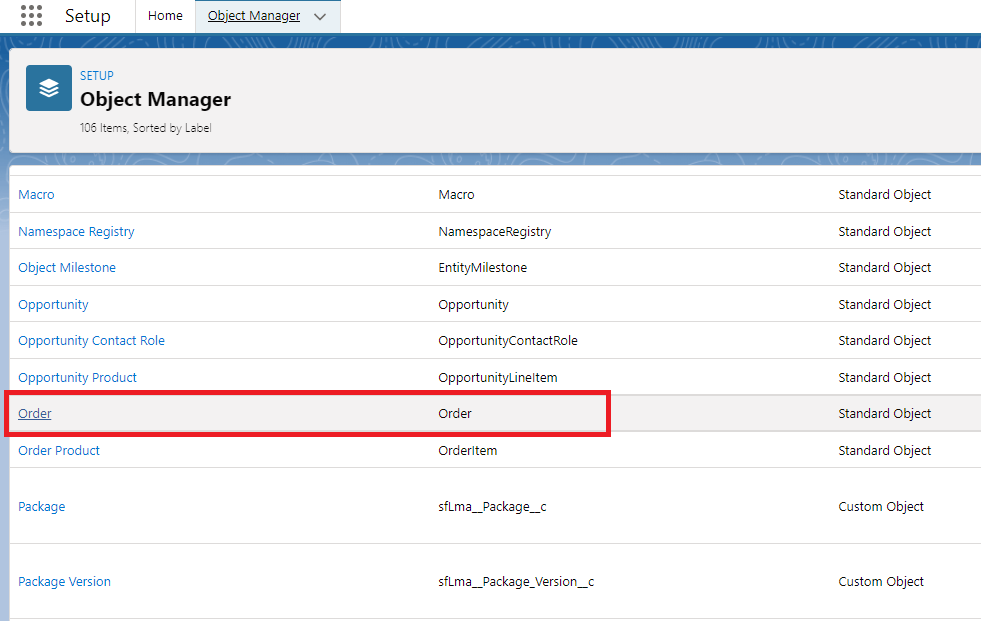
From the menu on the left-hand side, select Objects and Fields > Object Manager.
Select the object you would like to add the button to, such as Account or Order.
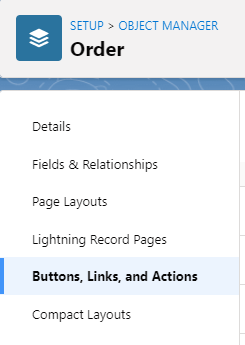
From the menu on the left-hand side, select Buttons, Links, and Actions.
On the right-hand side above the Buttons, Links, and Actions field, select New Button or Link.

Enter a Label. Change the Behavior to Execute JavaScript and the Content Source to OnClick JavaScript.
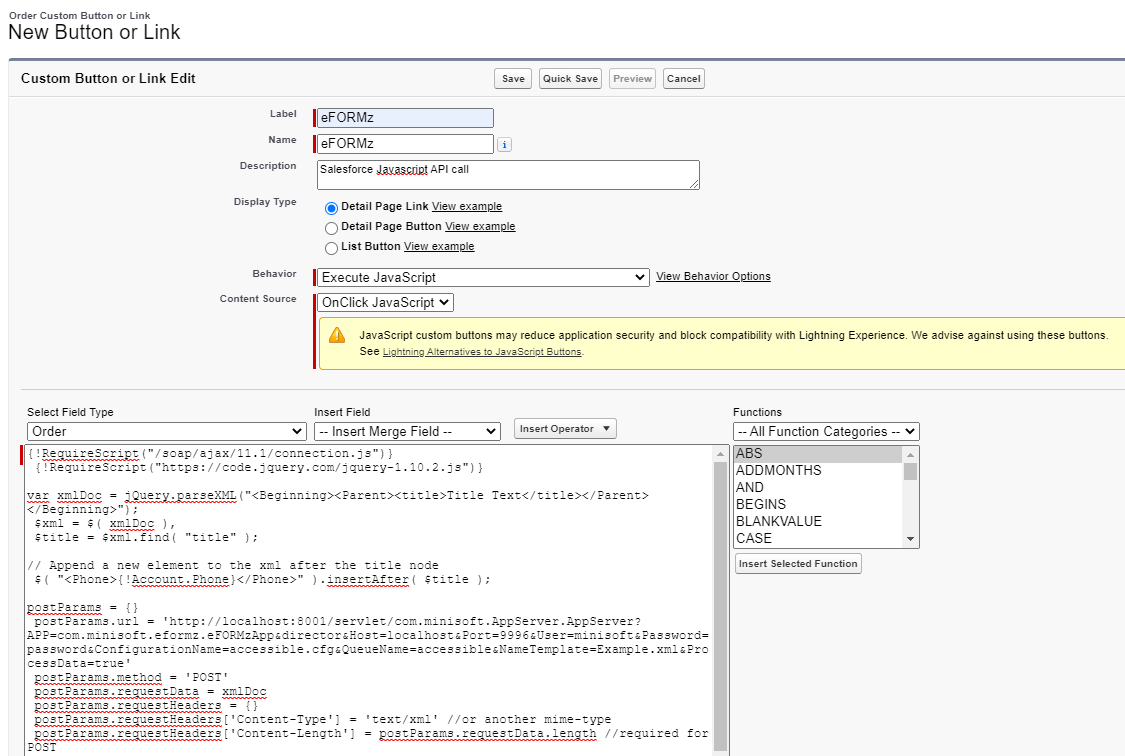
Put the following JavaScript into the text box:
{!RequireScript("/soap/ajax/11.1/connection.js")}
 {!RequireScript("https://code.jquery.com/jquery-1.10.2.js")}

var xmlDoc = jQuery.parseXML("<Beginning><Parent><title>Title Text</title></Parent></Beginning>");
 $xml = $( xmlDoc ),
 $title = $xml.find( "title" );

// Append a new element to the xml after the title node
 $( "<Phone>{!Account.Phone}</Phone>" ).insertAfter( $title );

postParams = {}
 postParams.url = 'http://localhost:8001/servlet/com.minisoft.AppServer.AppServer?APP=com.minisoft.eformz.eFORMzApp&director&Host=localhost&Port=9996&User=minisoft&Password=password&ConfigurationName=accessible.cfg&QueueName=accessible&NameTemplate=Example.xml&ProcessData=true'
 postParams.method = 'POST'
 postParams.requestData = xmlDoc
 postParams.requestHeaders = {}
 postParams.requestHeaders['Content-Type'] = 'text/xml' //or another mime-type
 postParams.requestHeaders['Content-Length'] = postParams.requestData.length //required for POST
 postParams.onSuccess = processSuccess
 postParams.onError = processError
 sforce.connection.remoteFunction(postParams)

function processSuccess(message)
 { // do something with results¨
 alert(message + 'Successfully sent to eFORMz');
 }

function processError(message)
 { // do something with the error
 alert('An error has occured');
 }
Keep in mind that this JavaScript is stored on a Salesforce server and the server that eFORMz is running on must be accessible by the internet. Replace the text localhost with the appropriate IP address of this server. You can now save your button.
Adding the Button to Page Layouts
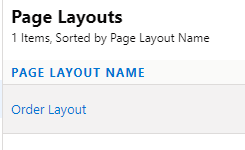
Now you must add the button to the page. From the menu on the left-hand side, select Page Layouts.

Select the Page Layout Name.
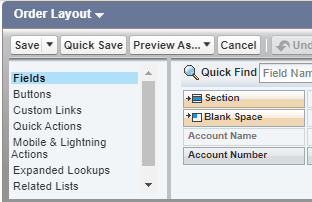
Select Custom Links.
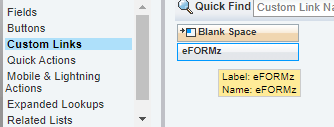
Drag the Custom Link to the Custom Links field.

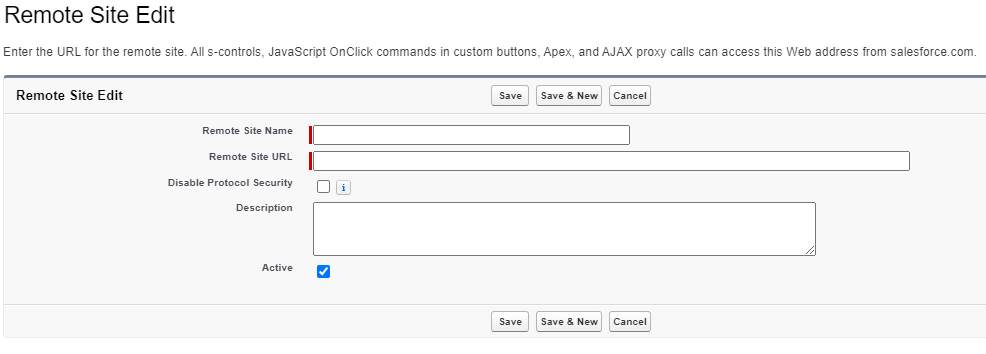
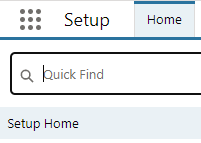
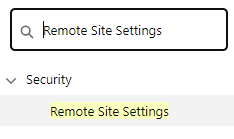
Connect eFORMz to a Trusted Site [Remote Site Settings]
Next, add the IP address that you will use to connect to eFORMz to one of your trusted sites. From Setup, enter Remote Site Settings in the Quick Find box, then select Remote Site Settings.
Click on New Remote Site.
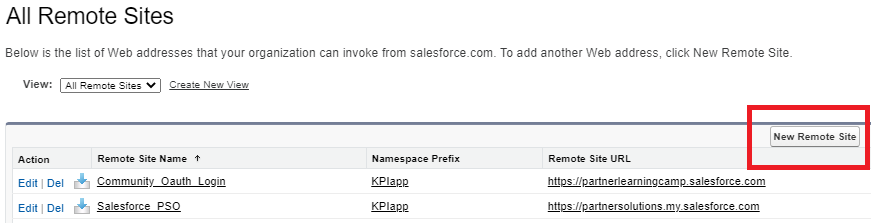
Fill in the appropriate information, including a descriptive term for the Remote Site Name, a URL for the remote site and a description of the site.